
How to Install a DIY Irrigation System: A Step-by-Step Guide
MP
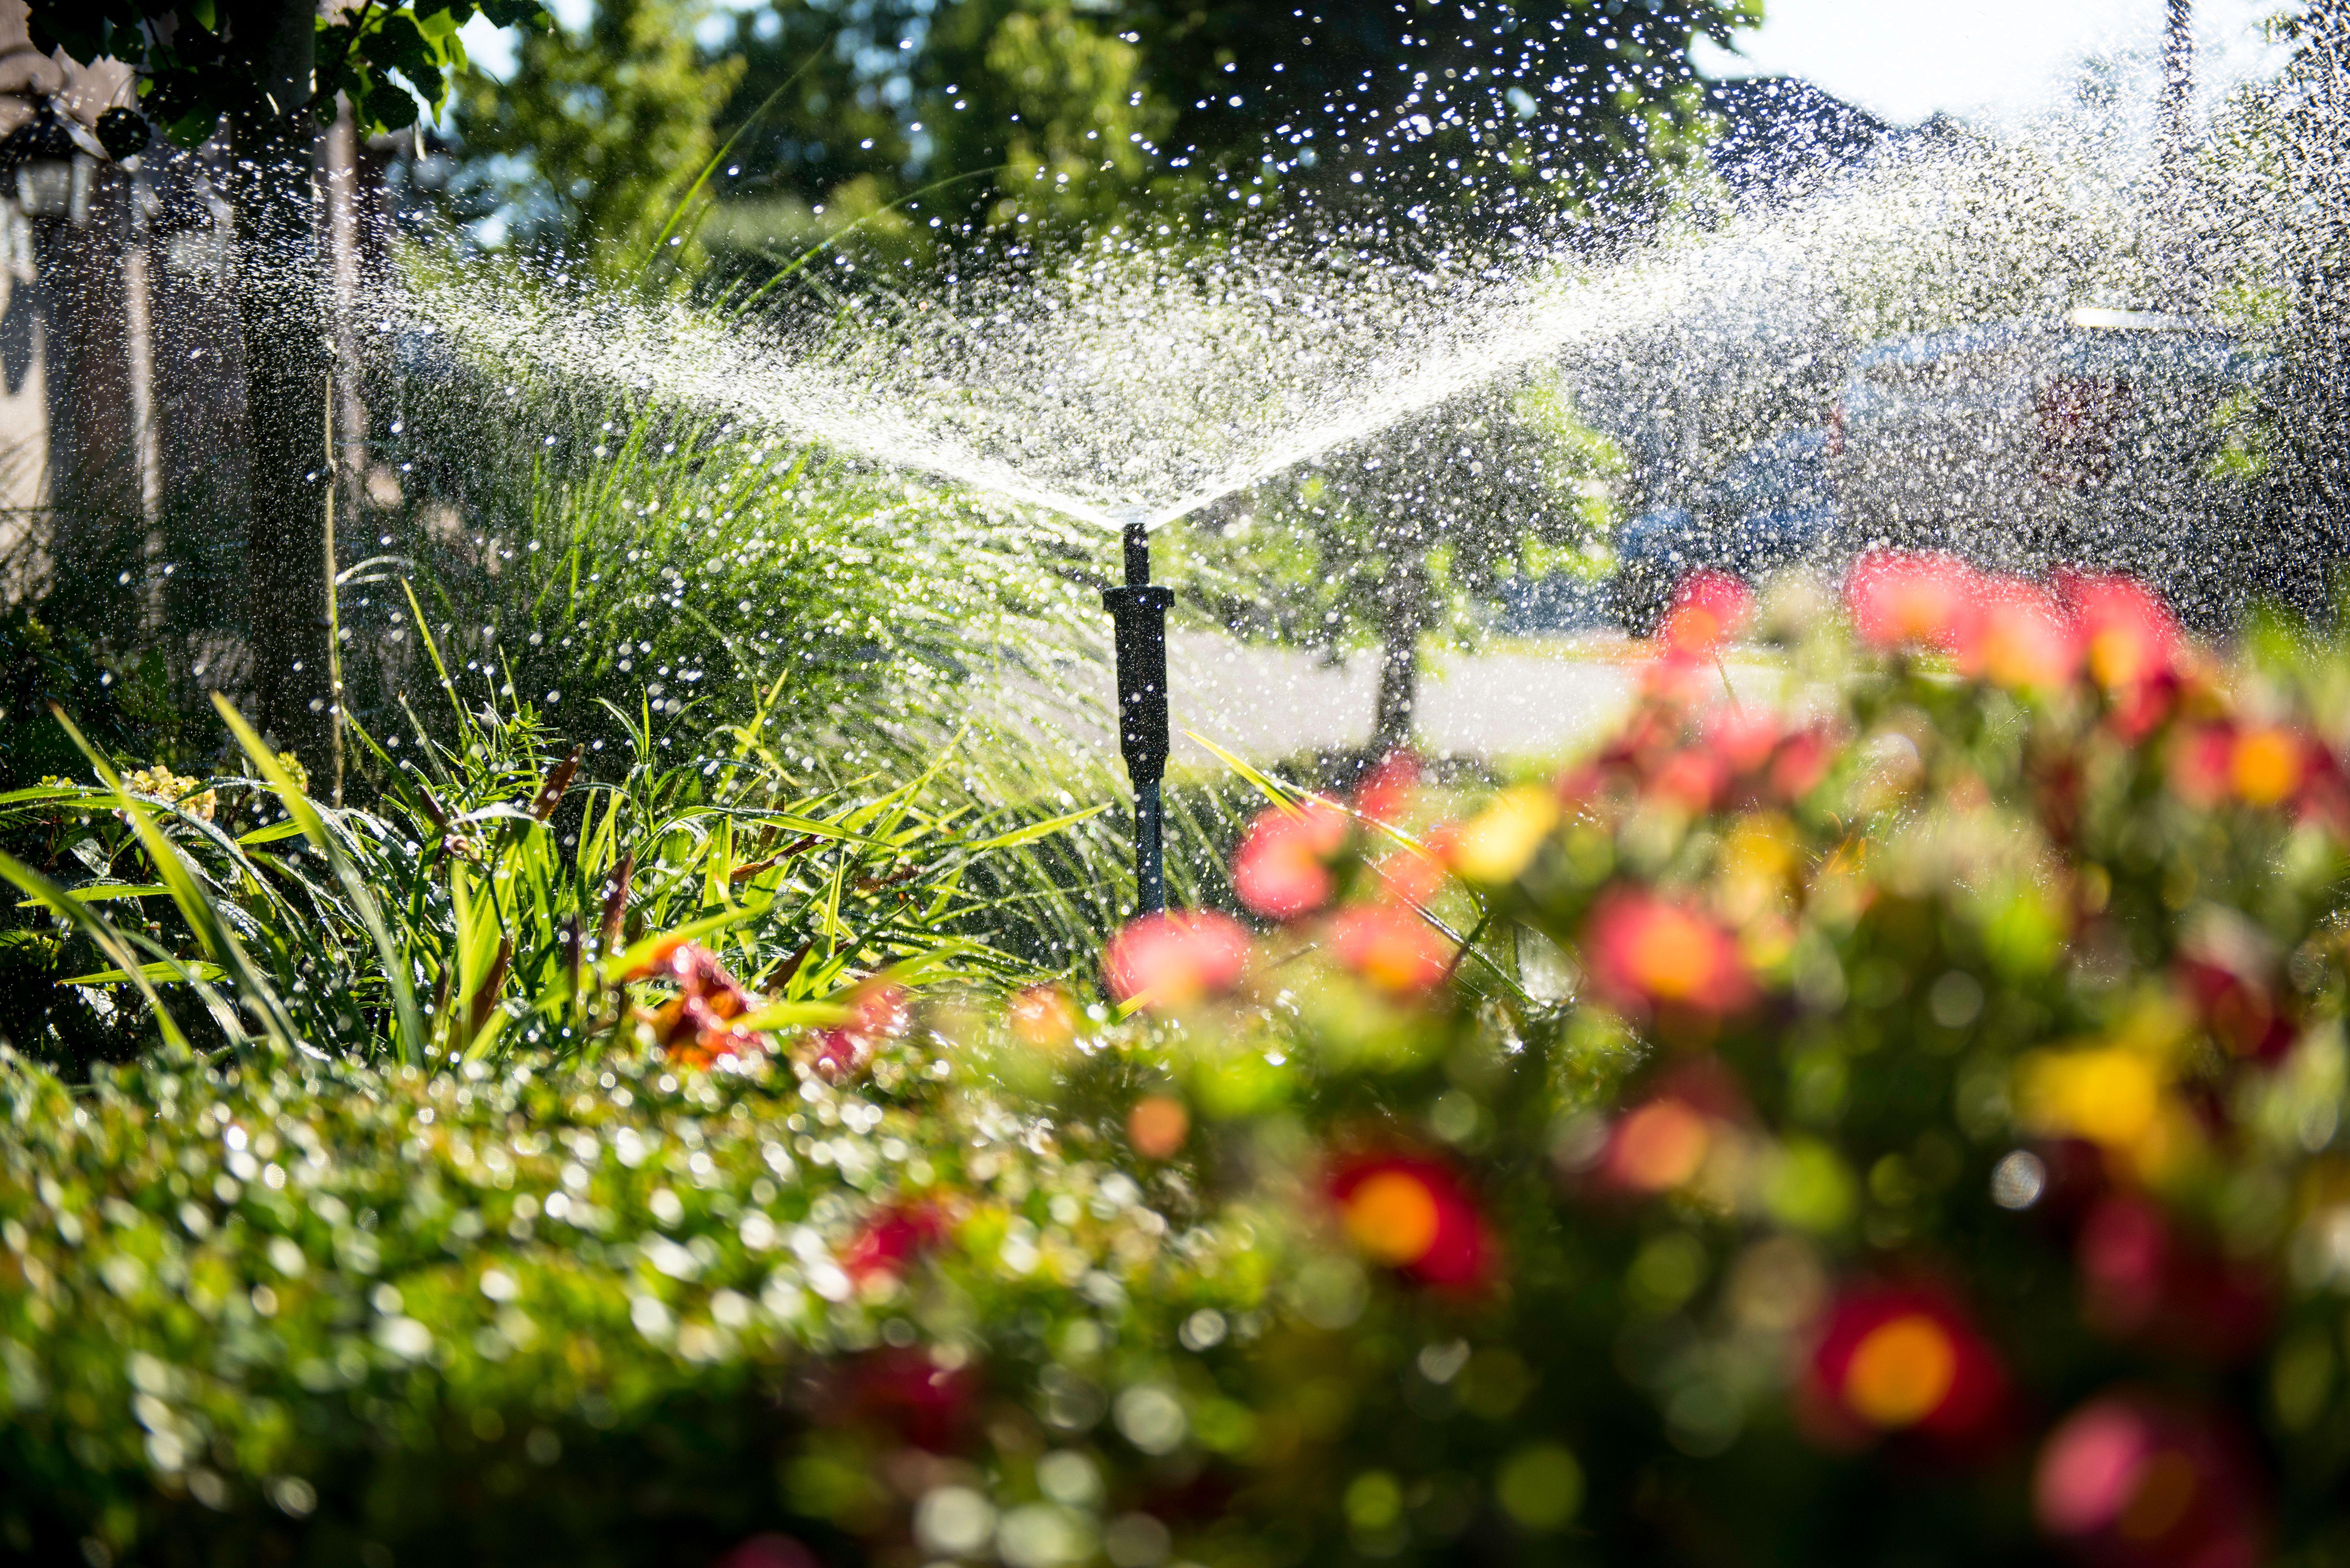
Transforming your garden into a lush, thriving landscape is easier than you might think. A DIY irrigation system can save you time, water, and money while ensuring that your plants receive the right amount of hydration. Whether you're a novice gardener or an experienced hand, installing your own irrigation system is a rewarding project that can be completed over a weekend.
Understanding Your Irrigation Needs
Before diving into the installation process, it's crucial to assess your garden's unique needs. Consider factors such as the size and shape of your garden, the types of plants you have, and the local climate conditions. Understanding these elements will help you choose the right type of irrigation system, whether it's a drip system for precise watering or a sprinkler system for broader coverage.

Choosing the Right Materials
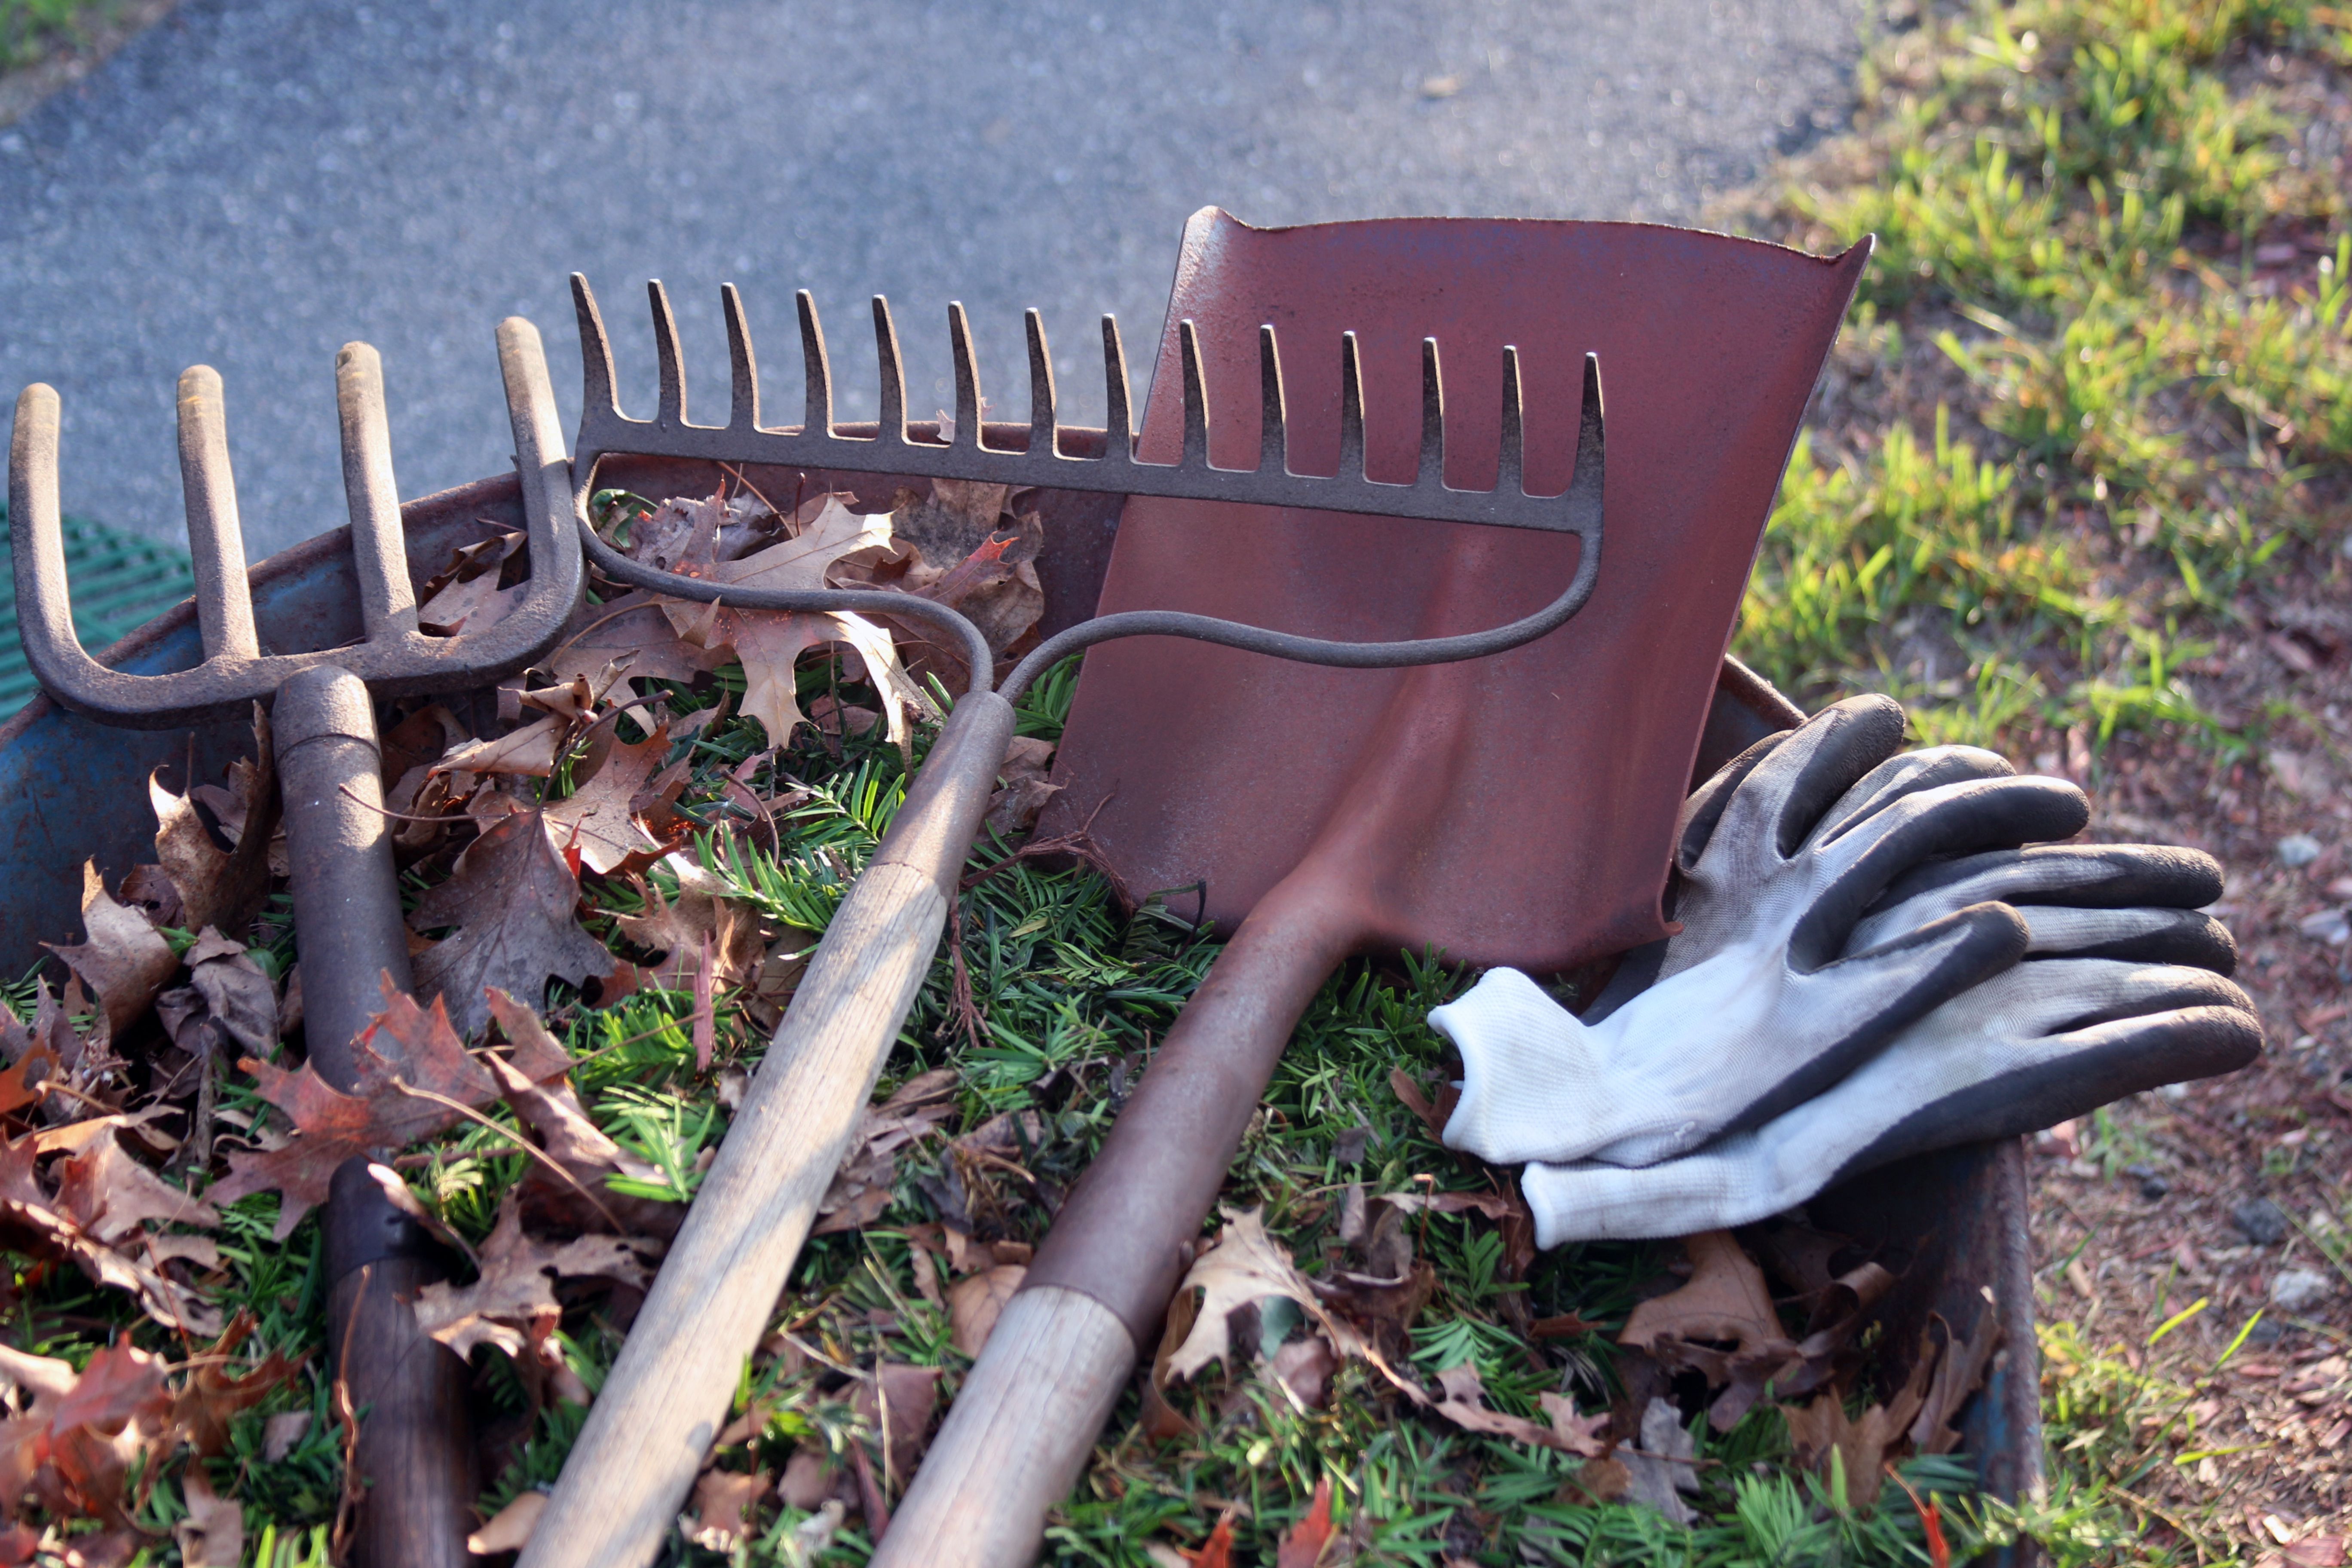
Once you've assessed your garden's requirements, it's time to gather the necessary materials. Typically, you'll need tubing, connectors, emitters or sprinklers, and a timer. Opt for high-quality materials that are durable and weather-resistant. Investing in a reliable timer can automate your watering schedule, saving you effort and preventing overwatering.
It's also wise to sketch out a layout plan for your irrigation system. This plan should indicate where each component will be placed and how they will connect to one another. A clear blueprint will streamline the installation process and help avoid common pitfalls.
Step-by-Step Installation
With your materials ready and plan in hand, you're set to begin installation. Follow these steps to ensure a smooth setup:
- Lay out the tubing: Position the tubing according to your plan, making sure it reaches all areas of your garden.
- Connect emitters or sprinklers: Attach the appropriate watering devices to the tubing. Make sure they are evenly spaced for uniform coverage.
- Secure connections: Use connectors to join tubing sections and ensure there are no leaks.
- Install the timer: Attach the timer to the water source and connect it to your irrigation system. Set the timer to water at optimal times, such as early morning or late evening.
Troubleshooting Common Issues
After installation, test your system to identify any issues. Common problems include leaks, uneven water distribution, or clogged emitters. Check all connections and ensure that emitters are clean and functioning correctly. Adjust your timer settings if necessary to optimize water usage.
If you encounter persistent issues, consult online resources or seek advice from gardening forums. Often, small adjustments can significantly improve the performance of your irrigation system.
Maintenance Tips
To keep your DIY irrigation system running smoothly, regular maintenance is essential. Inspect your system periodically for leaks or blockages and clean emitters as needed. Additionally, adjust your watering schedule based on seasonal changes to conserve water and meet your plants' evolving needs.
By following these steps and maintaining your system, you'll enjoy a beautiful, well-watered garden with minimal effort. A well-designed irrigation system can enhance plant health and reduce water waste, making it a valuable addition to any garden enthusiast's toolkit.